Ranunculus Planting & Growing Guide
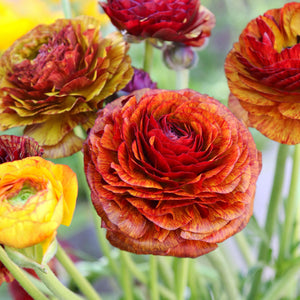
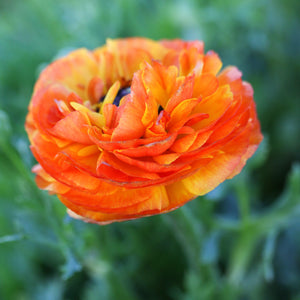
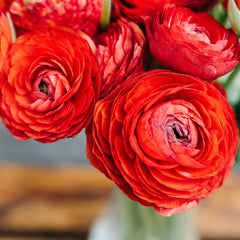
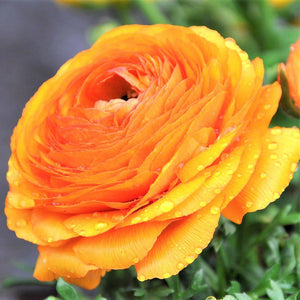
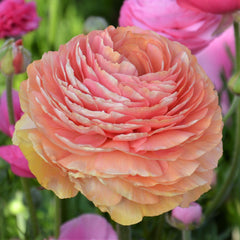
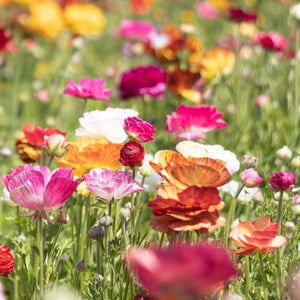
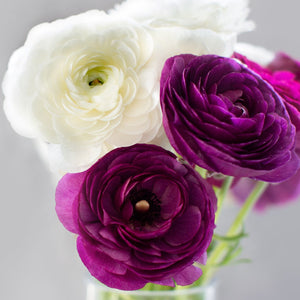
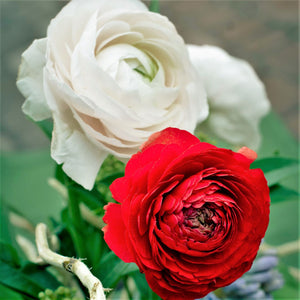
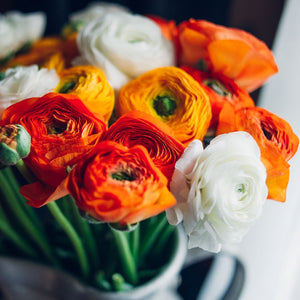
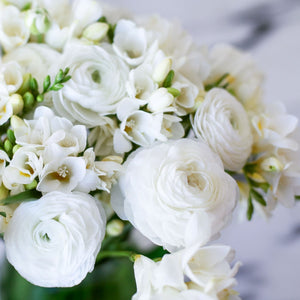
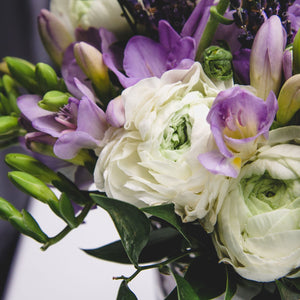
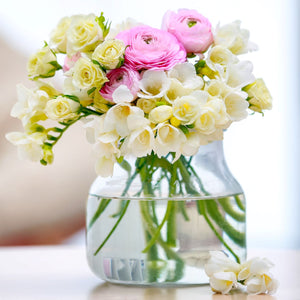
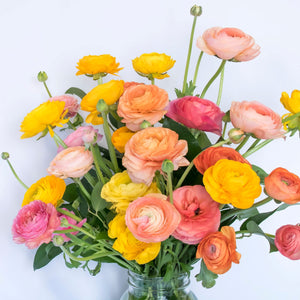
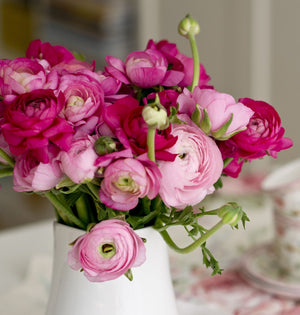
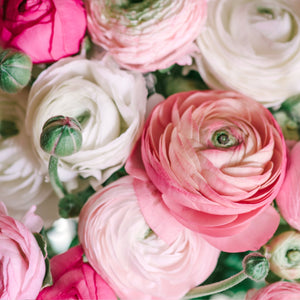
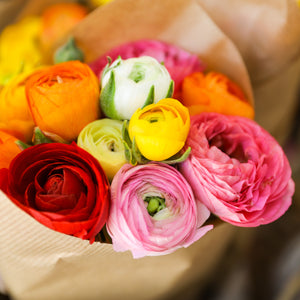
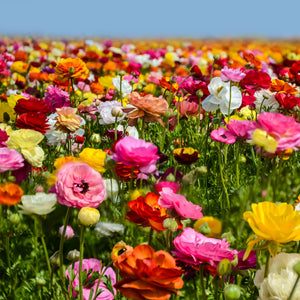
Nothing makes people happier than beautiful, long-lasting cut flowers, which is exactly why florists adore Ranunculus! Prized for their brightly colored, ruffled petals and long vase life, these brilliant bloomers stand tall on straight stems and produce many flowers per bulb. Our Ranunculus are grown in the famous Carlsbad Flower Fields, and all they ask is for plenty of sunlight, rich soil, and light watering. If you're a fan of spring flowers and would like to add more color and form to your garden, then read on to discover how easy it can be with Ranunculus!
Success Snapshot
PLANTING
DEPTH
2"

WATER
QUANTITY
Moderate with growth
SUNLIGHT
QUANTITY
Full Sun
PLANTING
PROXIMITY
4-6" Apart
BLOOM
SEASON
Spring
HARDINESS
ZONES
Zones 8-10
Shop Related Products

Ranunculus - Tecolote Café
$10.95
Contains: 10 Ranunculus corms
Botanical Name: Ranunculus asiaticus 'Café'
Exposure: Full Sun
Hardiness: Zones 8-10

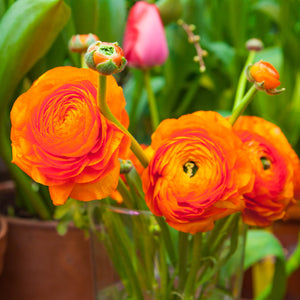
Ranunculus - Tecolote Flamenco
$10.95
Contains: 10 Ranunculus corms
Botanical Name: Ranunculus asiaticus 'Flamenco'
Exposure: Full Sun
Hardiness: Zones 8-10

Ranunculus - Tecolote Red
$10.95
Contains: 10 Ranunculus corms
Botanical Name: Ranunculus asiaticus 'Red'
Exposure: Full Sun
Hardiness: Zones 8-10

Ranunculus - Tecolote Gold
$10.95
Contains: 10 Ranunculus corms
Botanical Name: Ranunculus asiaticus 'Gold'
Exposure: Full Sun
Hardiness: Zones 8-10
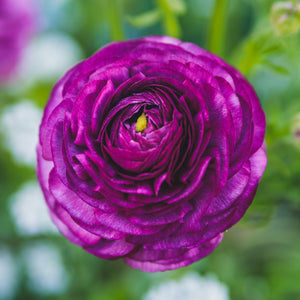

Ranunculus - Tecolote Purple
$10.95
Contains: 10 Ranunculus corms
Botanical Name: Ranunculus asiaticus 'Purple'
Exposure: Full Sun
Hardiness: Zones 8-10
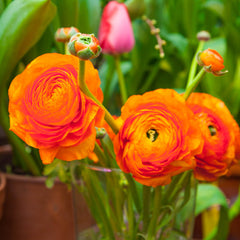
Ranunculus - Tecolote Sunset
$10.95
Contains: 10 Ranunculus corms
Botanical Name: Ranunculus asiaticus 'Sunset'
Exposure: Full Sun
Hardiness: Zones 8-10

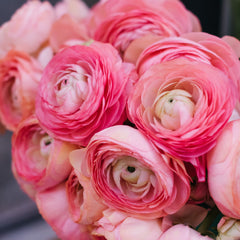
Ranunculus - Tecolote Pink
$10.95
Contains: 10 Ranunculus corms
Botanical Name: Ranunculus asiaticus 'Pink'
Exposure: Full Sun
Hardiness: Zones 8-10

Ranunculus - Tecolote Salmon
$10.95
Contains: 10 Ranunculus corms
Botanical Name: Ranunculus asiaticus 'Salmon'
Exposure: Full Sun
Hardiness: Zones 8-10

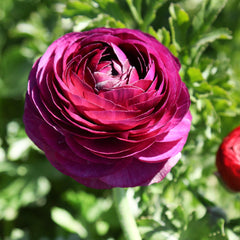
Ranunculus - Tecolote Merlot
$10.95
Contains: 10 Ranunculus corms
Botanical Name: Ranunculus asiaticus 'Merlot'
Exposure: Full Sun
Hardiness: Zones 8-10

Ranunculus - Tecolote Picotee Mix
$10.95
Contains: 10 Ranunculus corms mix
Botanical Name: Ranunculus asiaticus 'Picotee'
Exposure: Full Sun
Hardiness: Zones 8-10

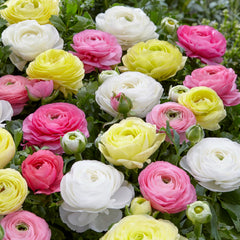
Ranunculus - Tecolote Pastel Mix
$10.95
Contains: 10 Ranunculus corms mix
Botanical Name: Ranunculus asiaticus
Exposure: Full Sun
Hardiness: Zones 8-10

Ranunculus - Tecolote Royalty Collection
$16.95
Contains: 20 Ranunculus corms
Botanical Name: Ranunculus asiaticus
Exposure: Full Sun
Hardiness: Zones 8-10

Ranunculus - Tecolote Romance Collection
$16.95
Contains: 20 Ranunculus corms
Botanical Name: Ranunculus asiaticus
Exposure: Full Sun
Hardiness: Zones 8-10
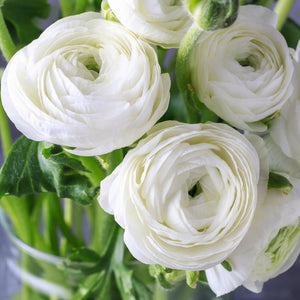

Ranunculus - Tecolote White
$10.95
Contains: 10 Ranunculus corms
Botanical Name: Ranunculus asiaticus 'White'
Exposure: Full Sun
Hardiness: Zones 8-10

Ranunculus - Tecolote Fire & Ice Collection
$24.95
Contains: 30 Ranunculus corms
Botanical Name: Ranunculus asiaticus
Exposure: Full Sun
Hardiness: Zones 8-10

Freesia & Ranunculus - White Clouds Blend
$26.95
Contains: 10 white Ranunculus corms & 30 white Freesia bulbs (15 single and 15 double)
Botanical Name: Freesia, Ranunculus asiaticus
Exposure: Full Sun to Partial Sun
Hardiness: Zones 8-10 or indoors

Freesia & Ranunculus - Blueberries & Cream Blend
$26.95
Contains: 20 white Ranunculus corms & 15 blue Freesia bulbs
Botanical Name: Freesia hybrid, Ranunculus asiaticus
Exposure: Full Sun to Partial Sun
Hardiness: Zones 8-10 or indoors

Freesia & Ranunculus - Pastel Blend
$29.95
Contains: 20 pink Ranunculus corms & 15 Freesia antique alba bulbs
Botanical Name: Freesia alba, Ranunculus asiaticus
Exposure: Full Sun to Partial Sun
Hardiness: Zones 8-10 or indoors

Ranunculus - Tecolote Tropical Sunset Collection
$24.95
Contains: 30 Ranunculus corms
Botanical Name: Ranunculus asiaticus
Exposure: Full Sun
Hardiness: Zones 8-10
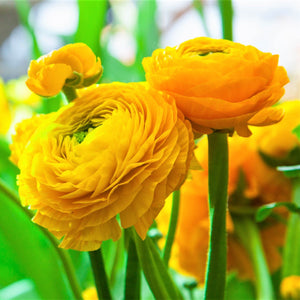

Ranunculus - Tecolote Yellow
$10.95
Contains: 10 Ranunculus corms
Botanical Name: Ranunculus asiaticus 'Yellow'
Exposure: Full Sun
Hardiness: Zones 8-10

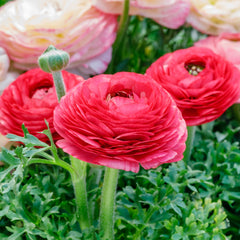
Ranunculus - Tecolote Rose
$10.95
Contains: 10 Ranunculus corms
Botanical Name: Ranunculus asiaticus 'Rose'
Exposure: Full Sun
Hardiness: Zones 8-10

Ranunculus - Tecolote Very Berry Collection
$24.95
Contains: 30 Ranunculus corms
Botanical Name: Ranunculus asiaticus
Exposure: Full Sun
Hardiness: Zones 8-10

Ranunculus - Tecolote Pastel Collection
$24.95
Contains: 30 Ranunculus corms
Botanical Name: Ranunculus asiaticus
Exposure: Full Sun
Hardiness: Zones 8-10


Ranunculus - Tecolote Spring Fever Collection
$24.95
Contains: 30 Ranunculus corms
Botanical Name: Ranunculus asiaticus
Exposure: Full Sun
Hardiness: Zones 8-10

Ranunculus - Tecolote Rainbow Mix
$10.95
Contains: 10 Ranunculus corms mix
Botanical Name: Ranunculus asiaticus
Exposure: Full Sun
Hardiness: Zones 8-10

Ranunculus - Tecolote Flower Fields Collection
$24.95
Contains: 30 Ranunculus corms mixed colors
Botanical Name: Ranunculus asiaticus
Exposure: Full Sun
Hardiness: Zones 8-10


Ranunculus - Tecolote Burning Embers Collection
$24.95
Contains: 30 Ranunculus corms
Botanical Name: Ranunculus asiaticus
Exposure: Full Sun
Hardiness: Zones 8-10
Where to Plant
Ranunculus are cool-season flowers that thrive in full sun to partial shade and moist, well-drained soil.
- For outdoor landscape planting, select a location in bed, borders, or cutting gardens—anyplace with good soil drainage. If you notice that water still puddles 5 to 6 hours after a hard rain, it's best to find a different spot or amend the soil with organic matter to improve drainage.
- For outdoor container growing, be sure to choose a container that’s the right size for the number of bulbs you intend to plant and has a drainage hole at the bottom.
When to Plant
In zones 4–7, where they are not winter hardy, Ranunculus should be planted in the spring for flowers in late summer. Containers that can be brought indoors in the winter months are also an excellent option for those in colder climates.
In zones 8 and warmer, plant in the fall for late winter or early spring blooms.
How to Plant
- For outdoor landscape planting, dig holes and set your Ranunculus bulbs 2–3" deep and 4–6" apart. Cover the bulbs with soil and water thoroughly.
- For container planting, set your Ranunculus 2" deep and 3–4" apart in good-quality, well-draining potting soil (not garden soil). Cover the bulbs with soil and water, making sure the container drains well.
- Refrain from watering again until you notice sprouts.
How to Grow
- Keep Ranunculus moist without overwatering while the foliage is green and the flowers are in bloom. Too much moisture and poor drainage can cause bulbs to rot.
- Deadhead your plants to keep them healthy and allow for more blooms.
- Clip off foliage and stop watering when the leaves start to yellow and die back.
- Allow your Ranunculus bulbs to dry out when they go dormant and the foliage is gone.
Ranunculus Tips & Tricks
- Amend soil with compost, fine-ground bark, or composted manure as needed to improve drainage and avoid water logging your plant.
- Pair with other spring flowers such as Primroses, Pansies, and Larkspur in warmer regions.
- Expect blooms to arrive 2–3 months after planting in the spring and last for 4–6 weeks.
- Leave your Ranunculus alone after planting in the fall. In zones 8 and warmer, the plants will form tiny rootlets and sprouts that don't want to be disturbed.
- Start your plants indoors in containers if you live in a colder climate and move them outside to a spot with full sun after the danger of a hard frost has passed.
- Soak the bulbs for 3–4 hours in tepid water before planting outside to give them a head start.
- Enjoy bountiful blooms for up to 10 days in a vase by cutting the stems when the flower buds show color but aren't yet open. Strip off lower leaves and re-cut the bottoms of the stems when you bring the flowers indoors and change the water every other day.
'%3e%3cg id='Final-Copy-2_2_' transform='translate(1275.000000, 200.000000)'%3e%3cpath class='st0' d='M7.4,12.8h6.8l3.1-11.6H7.4C4.2,1.2,1.6,3.8,1.6,7S4.2,12.8,7.4,12.8z'/%3e%3c/g%3e%3c/g%3e%3c/g%3e%3cg id='final---dec.11-2020'%3e%3cg id='_x30_208-our-toggle' transform='translate(-1275.000000, -200.000000)'%3e%3cg id='Final-Copy-2' transform='translate(1275.000000, 200.000000)'%3e%3cpath class='st1' d='M22.6,0H7.4c-3.9,0-7,3.1-7,7s3.1,7,7,7h15.2c3.9,0,7-3.1,7-7S26.4,0,22.6,0z M1.6,7c0-3.2,2.6-5.8,5.8-5.8 h9.9l-3.1,11.6H7.4C4.2,12.8,1.6,10.2,1.6,7z'/%3e%3cpath id='x' class='st2' d='M24.6,4c0.2,0.2,0.2,0.6,0,0.8l0,0L22.5,7l2.2,2.2c0.2,0.2,0.2,0.6,0,0.8c-0.2,0.2-0.6,0.2-0.8,0 l0,0l-2.2-2.2L19.5,10c-0.2,0.2-0.6,0.2-0.8,0c-0.2-0.2-0.2-0.6,0-0.8l0,0L20.8,7l-2.2-2.2c-0.2-0.2-0.2-0.6,0-0.8 c0.2-0.2,0.6-0.2,0.8,0l0,0l2.2,2.2L23.8,4C24,3.8,24.4,3.8,24.6,4z'/%3e%3cpath id='y' class='st3' d='M12.7,4.1c0.2,0.2,0.3,0.6,0.1,0.8l0,0L8.6,9.8C8.5,9.9,8.4,10,8.3,10c-0.2,0.1-0.5,0.1-0.7-0.1l0,0 L5.4,7.7c-0.2-0.2-0.2-0.6,0-0.8c0.2-0.2,0.6-0.2,0.8,0l0,0L8,8.6l3.8-4.5C12,3.9,12.4,3.9,12.7,4.1z'/%3e%3c/g%3e%3c/g%3e%3c/g%3e%3c/g%3e%3c/svg%3e) Your Privacy Choices
Your Privacy Choices